Description
Product Details
The unique, minimally invasive Uveneer Extra direct composite templates complement the original Uveneer template kits—with four new upper anterior designs. Extra Large, Large, Medium, and Square templates create beautiful direct composite veneers with predictable shape and symmetry. The designs have been molded based on scanned teeth and as a result, require minimal adjusting or polishing for an incredibly natural look. Like the original Uveneer templates they’re designed to create high-quality anterior restorations in one visit. All Uveneer templates use innovative technologies that help achieve a refined, anatomically correct, high-gloss restoration in a fraction of the time of what it would take if done freehand. Results are both reproducible and predictable.
- Create natural-looking contours on composite restorations
- Molded based on scanned teeth from Dr. Jan Hajto’s work
- Add to the unique potential of the patient’s smile in the upper anterior range
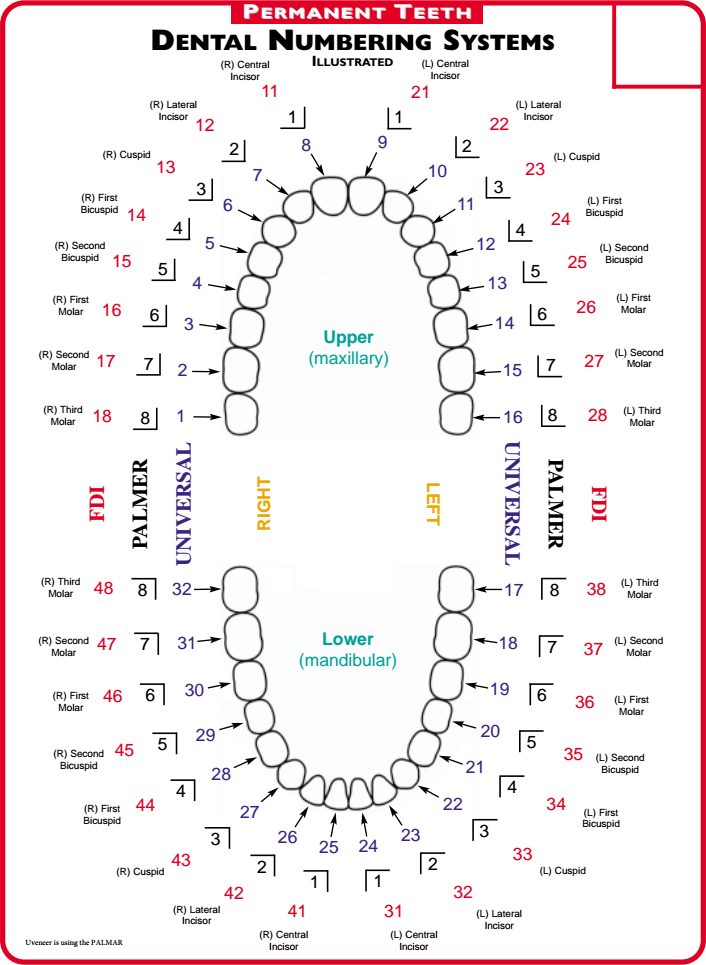
- Each template is numbered to correspond with the tooth number and tooth size of the upper arch
- All of the trusted qualities of the original Uveneer templates are present, but with a new design
These unique, autoclavable templates:
-
- Prevent the oxygen inhibition layer during the curing process resulting in a hard, glossy surface
- Allow light to pass through to the composite for effective curing
- Work with any preferred composite
- Release easily from cured composite resin
- Can be used on individual or multiple teeth
- Can enhance practice efficiency
- Are reusable*, making it cost effective for both patients and dentists
*Base in which templates arrive is not autoclavable, rather only the templates themselves. Do NOT autoclave the base.
Note: If you would like to order individual replacement templates, please call our customer service department at 1.888.230.1420. For international orders, please contact your dealer or distributor.
Item# UVKEV1
Contents:
- 6 x Extra Large upper anterior templates
- 6 x Large upper anterior templates
- 6 x Medium upper anterior templates
- 6 x Square upper anterior templates
Item# UVKELMV1
Contents:
- 6 x Large upper anterior templates
- 6 x Medium upper anterior templates
Item# UVKEXLSQV1
Contents:
- 6 x Extra Large upper anterior templates
- 6 x Square upper anterior templates
Technical Details
The Only Direct Composite Template System
The Uveneer template system is the only template system designed to create beautiful direct composite veneers in one visit. With Uveneer templates, clinicians can create veneers with predictable shape and symmetry every time, for every patient.
Constructed of Translucent Material
Each translucent template allows light to transfer from the curing light through to the composite. Uveneer templates block the composite oxygen inhibited layer during the curing process, thus leaving a finished glossy and contoured surface.
Will Not Stick to Composite
Uveneer templates are made from medical grade translucent plastic with a nonstick coating and are both reusable and autoclavable.
Kit Includes Templates For Maxillary Anterior Teeth, Canine to Canine
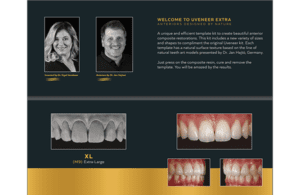
The Uveneer Extra template system kit features 24 templates in total, including four sizes: Extra Large, Large, Medium, and Square. Each size consists of 6 maxillary templates from canine to canine. Each Uveneer Extra template is numbered to correspond with tooth number and template size to assist in correct placement.
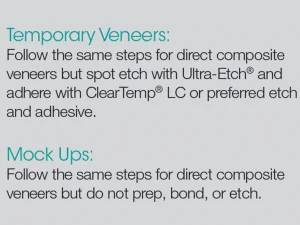
Procedures
Uveneer Direct Composite Template System Step by Step
– See Instructions for Use for complete instructions, warnings, and precautions.
Step 1:
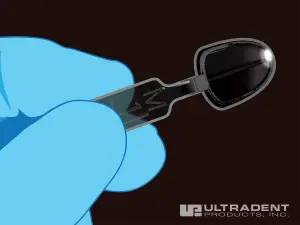
Choose Mosaic™ universal composite or preferred composite shade(s). Select the template that corresponds with the tooth being restored. See handle of template for corresponding tooth number, size, and arch.
Step 2:
Remove all caries if needed and minimally prepare the tooth.
Step 3:
Place interproximal separating matrices and apply Ultra-Etch™ etchant, Peak™ SE Primer, or preferred etch.
Step 4:
Rinse etch according to manufacturer’s instructions. Do not rinse if using Peak SE Primer.
Step 5:
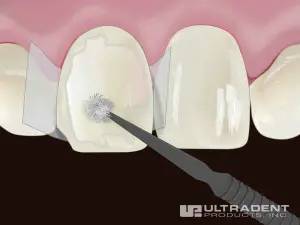
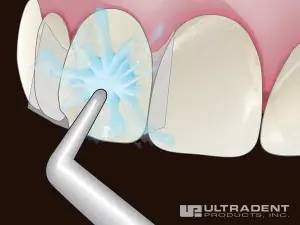
Apply Peak™ Universal Bond adhesive or preferred adhesive to tooth surface.
Step 6:
Light cure with VALO™ curing light 1 x 10 seconds on Standard Power. If using other curing light, cure according to manufacturer instructions.
Step 7:
Apply Mosaic universal composite or preferred composite directly onto tooth.
Step 8:
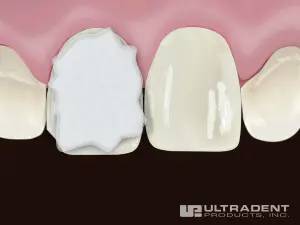
Do not light cure composite.
Step 9:
Select chosen Uveneer template. Template should ideally cover the entire facial surface of the tooth. If not, additional composite may be used at the periphery to compensate.
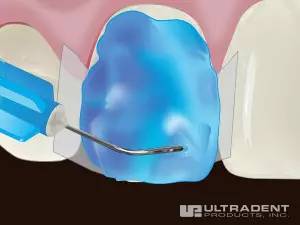
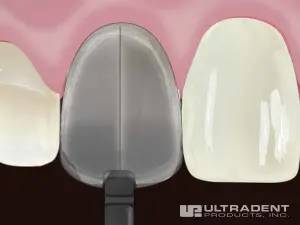
Step 10:
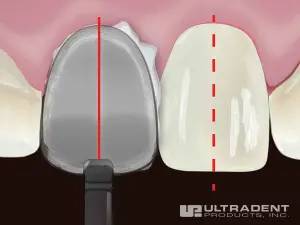
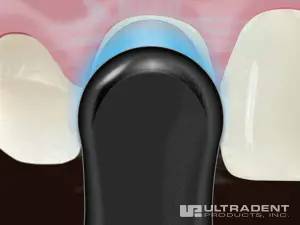
Align centerline of template parallel to the midline of the face and perpendicular to the incisal plane. Using thumb, press the concave side of the selected template onto the tooth. Press firmly to remove any trapped air.
Step 11:
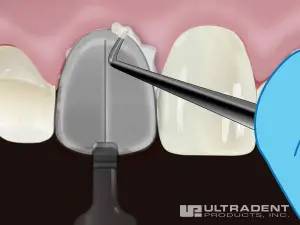
Remove any excess composite from the periphery.
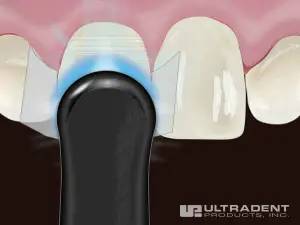
Step 12:
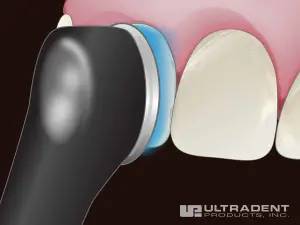
Using VALO curing light, cure composite through template. For every 2mm layer, cure 1–2 x 10 seconds on Standard Power, 1–2 x 4 seconds on High Power, or 1–2 x 3 seconds on Xtra Power. If using other curing light, cure according to manufacturer instructions.
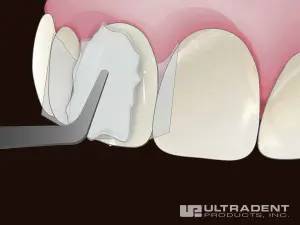
Step 13:
Remove the Uveneer template by gently lifting the handle. Using VALO curing light do final cure directly onto composite. To ensure composite is cured thoroughly, for every 2mm layer, cure 3 x 10 seconds on Standard Power, 3 x 4 seconds on High Power, or 3 x 3 seconds on Xtra Power. If using other curing light, cure according to manufacturer instructions.
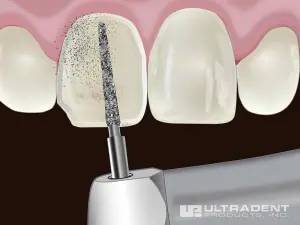
Step 14:
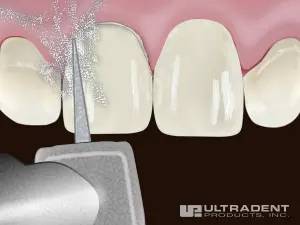
Avoiding the glossy facial surface, trim excess composite from periphery with a fine flameshaped bur in Jiffy™ Composite Finishing Bur Kit. Use Jiffy™ Composite Polishers, Brushes, Diamond Strips, or Proximal Saws for minimal finishing and adjusting if desired.
Step 15:
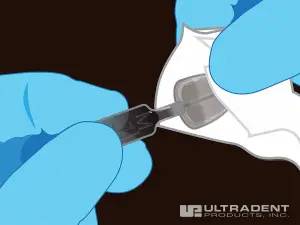
Immediately after use, thoroughly wipe template with alcohol pad, dry, bag, and autoclave according to Uveneer template IFU. Do not leave any composite residue on the template in order to maintain translucency and shine.
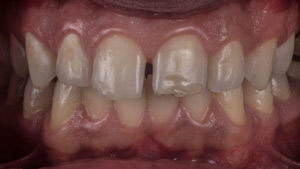
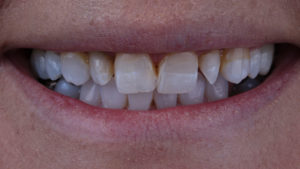
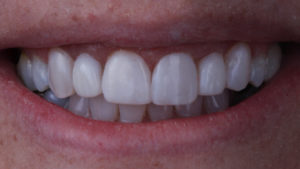
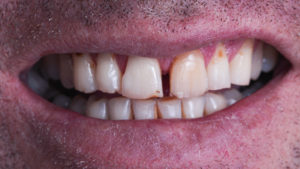
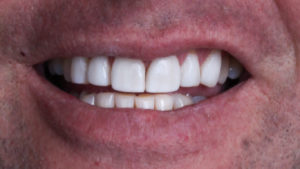
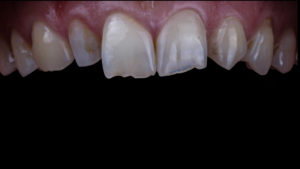
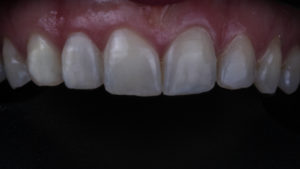
Step 16:
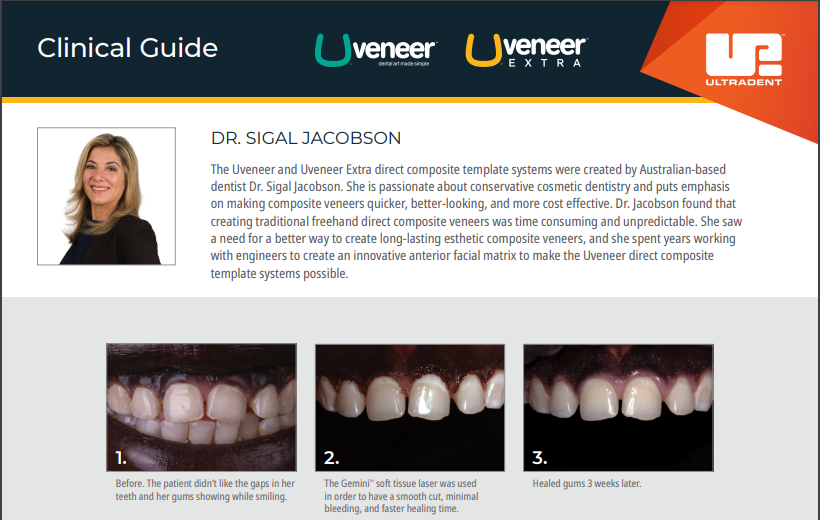
Before After
Case 1. Done by Dr Sigal Jacobson

Case 2. Done by Dr Sigal Jacobson
Case 3. Done by Dr Sigal Jacobson
Case 4. Done by Dr Sigal Jacobson
Brochures
Uveneer Family Technique Guide
Uveneer Extra Brochure
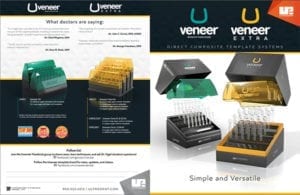
Uveneer Sales Sheet
Uveneer Extra Clinical guide
Videos
Order Online
Ultradent is the exclusive global distributor of Uveneer
For USA orders click here to order or call 1.888.230.1420. For international orders click here to find a distributor in your country or email info@uveneer.com